Necklace Stands
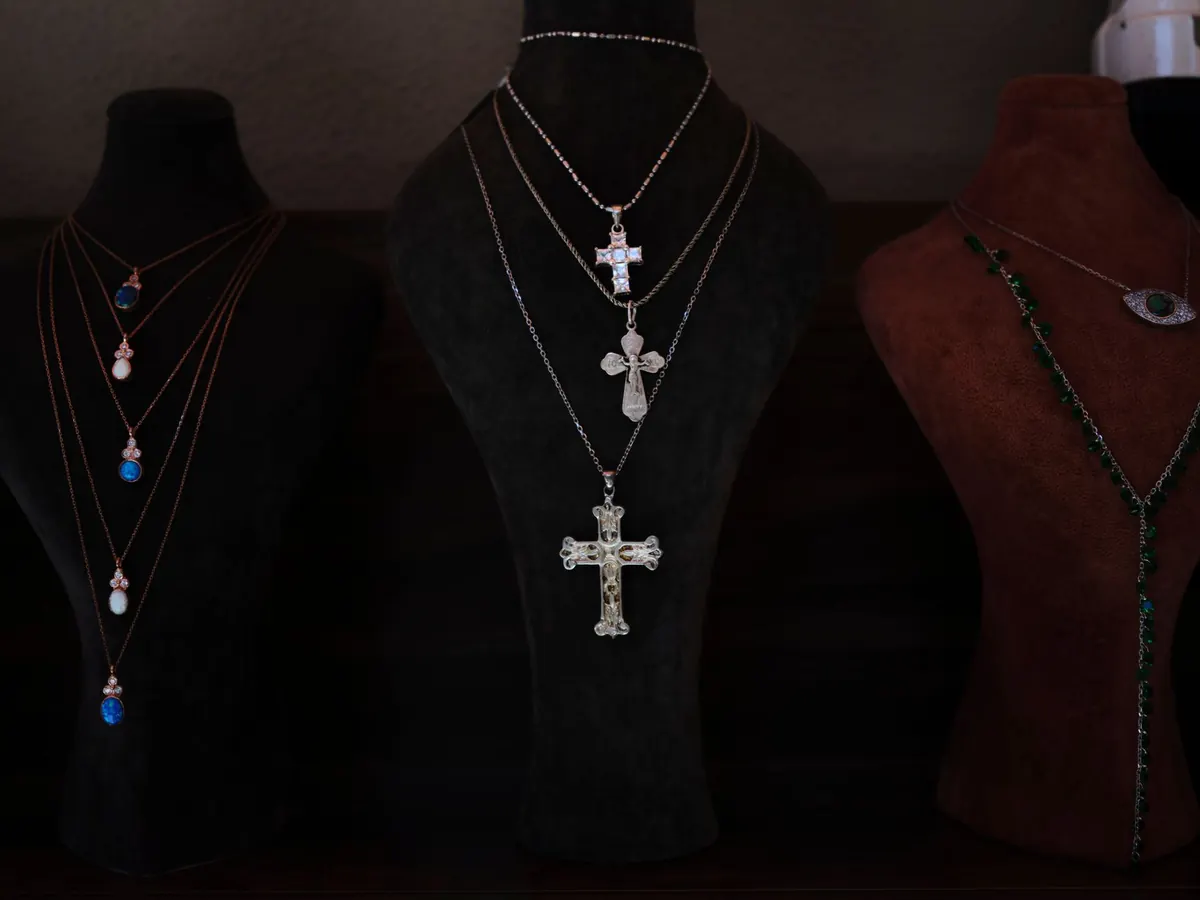
How to Light a Necklace Stand for Online Photos and In-Store Displays
Lighting a necklace stand looks straightforward until you actually try it. Polished metal throws a bright streak straight back at the camera, faceted stones go flat under a soft light, and the brightest thing in the photo turns out to be the bust rather than the pendant. None of this is difficult to fix. It comes down to a few decisions: one main light, something to soften it, and a deliberate approach to what the metal is reflecting. The same thinking serves you whether you are photographing a piece for a listing or dressing a cabinet in a shop.
Decide what the light needs to do
A necklace has two stories to tell, and they need slightly different light. The first is detail: the colour of a stone, the texture of a cord, the shape of a clasp, the way a pendant sits. The second is finish: the gleam along a chain, the sparkle in a faceted bead, the soft lustre of a pearl.
Detail wants soft, even light from a wide source. Sparkle wants a small, bright highlight somewhere in the frame for the facets to catch. That is why a single bare bulb fails. It gives you a harsh hotspot on the metal and a dark, muddy pendant, with nothing in between.
Before you touch a lamp, look at the piece. A matt ceramic pendant will barely reflect anything, so you can be generous with light. A mirror-polished silver chain will reflect the entire room, including you, your phone and the window behind you. Those two pieces need different treatment on the same stand.
Set up the stand and the backdrop first
Most glare problems in necklace photography are not lighting problems at all. They are reflection problems, and they start with the stand.
A glossy acrylic bust will mirror every light in the room. A matt finish, a fabric-covered neck, or a velvet display form absorbs that instead and keeps attention on the necklace. If you already own glossy stands, you can still use them: just move them further from your light sources and from any bright wall, and shoot slightly from above so the front face of the bust is not facing the camera squarely.
Push the stand well forward of the background. A metre of empty space behind it stops the shadow of the necklace landing on the wall, gives you fall-off so the background goes gently darker, and lets you place a light behind the piece if you want one.
Have these within reach before you start:
- Two lamps you can move independently, ideally with diffusers or softboxes
- A sheet of white foam board or card as a reflector
- A sheet of black card to kill unwanted highlights
- A tripod, or something stable to rest the camera on
- Baking parchment or a white shower curtain if you need a cheap diffuser
Positioning lights for photography
Work with one light at a time and build up. It is much easier to diagnose a problem when you know which light caused it.
The main light
Put your brightest source at roughly 45 degrees to the side of the necklace, and a little above it. This angle gives the chain a direction and reveals the curve of the pendant instead of flattening it. Bring the light closer rather than turning it up: a close source is softer on the piece, and you keep the power low.
Fill and shaping
Now place the white card on the opposite side, just out of frame, and angle it towards the necklace. Watch the shadow side of the chain lift as you move it. That is your fill, and it costs nothing.
Then look for a distracting bright patch on the metal or the stones. Rather than moving a light, try holding the black card between the light and the necklace, feathering it in until the highlight shrinks to something crisp and deliberate. Black card is often more useful than an extra lamp.
Background and sparkle
If the piece needs a lift at the back of the chain, a small light aimed at the background, not the necklace, creates separation. Keep it lower in intensity than the main light. For a genuine glint in a faceted stone, the light source itself needs to be visible in the facet, so keep the diffuser reasonably close and accept one small, bright point.
Move the light, not the necklace. Nine times out of ten the fix is 20 centimetres of lamp, not a new setup.
Controlling glare and hot spots
Reflections follow a simple rule: light bounces off metal at the same angle it arrives. So if your camera can see the reflection of a lamp in a pendant, that is geometry, not brightness. Changing exposure will not remove it.
Two things usually solve it. First, make the source bigger and softer, so any highlight is a broad, gentle sheen rather than a hard white blob. Second, shift the stand a few centimetres left or right, or raise and lower the camera, until the reflected highlight slides off the pendant and onto the chain where it looks intentional.
A circular polarising filter helps with reflections on glass, resin and stone, and it can deepen the colour of a shiny surface. It will not do much for bare polished metal, so do not rely on it as a cure-all. It also costs you some light, so adjust exposure afterwards.
If you are shooting with a phone, skip the flash entirely. Instead, place the phone on a tripod, use a two-second timer, and light the piece with your lamps. Set white balance manually if your camera app allows it, or keep every lamp the same colour temperature so the camera has nothing to argue with. Around 5000K is a reasonable neutral for jewellery. Mixing a warm bulb with daylight from a window is the fastest way to make a silver chain look grey or a gold one look orange.
Dressing a necklace stand in a shop
In a display, the customer moves and the light does not, which changes the priorities. You are lighting for someone standing at a counter or walking past, not for one fixed camera position.
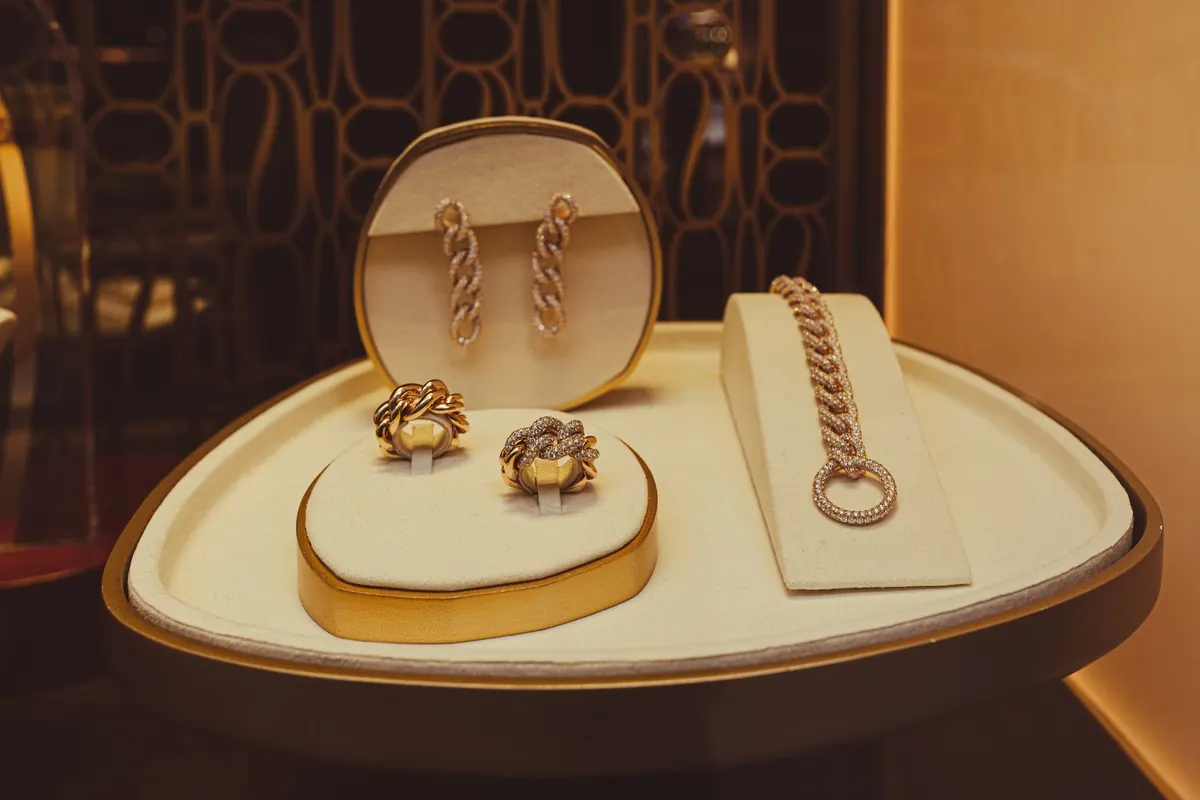
Start with a warm ambient level, somewhere around 2700–3000K, so the cabinet feels inviting rather than clinical. Then add a tighter accent on the necklace itself. A narrow spot makes metal gleam and gives the piece its own pool of light. A soft, frosted LED strip tucked into the top of the cabinet does the same job more evenly, and is easier to control in a small space. Look for high colour rendering so reds and greens in stones stay true.
Watch the glass. If the cabinet has a front pane, angle the fixture so its reflection is directed downwards and away from where a customer's eyes will be, not back into the glass at eye level. Angle-adjustable spots make this much easier than fixed downlights. If glare remains a persistent problem, anti-reflective glazing is worth considering for a cabinet you use every day.
Keep heat and ultraviolet light away from delicate cords, silks and pearls. Modern LEDs run cool and are the sensible choice next to anything fragile. If you are adding mains-powered lighting to a cabinet rather than plug-in strips, have a qualified electrician do the wiring and check it — it is not a job for a spare afternoon.
Finally, resist the urge to light every stand at the same intensity. Two or three brightly lit necklaces in a row will read better than twenty evenly lit ones. The eye needs somewhere to rest, and a little shadow around a piece makes the piece itself brighter.
A quick test before you commit
Take one photo, then look at it on a phone screen rather than a monitor. Most customers will first see the piece at that size, and problems that look minor on a large display are obvious on a small one.
Then step back and view the display from the doorway, and again from close up at the counter. If the necklace reads clearly from both, you have got it right. Write down your lamp positions and settings while the setup is still in front of you — and if a highlight is fighting you, try moving the stand a hand's width before you change anything else.
Photo: Engin Akyurt / Pexels
Related Articles